Are you looking to list your property for sale? Or, do you have a home improvement project lined up? Whatever the reason for renovations, redoing your floors because of damaged grout is crucial to maintaining aesthetics and safety. The good news is that you can fix cracked or deteriorated grout by yourself, as long as you have the proper tools and skills. If you prefer a more hands-off approach, consider hiring a professional handyman in Sherman to handle repairs. At Mr. Handyman, we leverage extensive experience and proven strategies to restore your surfaces to pristine condition. For DIY enthusiasts, here’s vital information to help you conduct a successful project.
What Is Tile Grout?
Grout is a mixture of sand, water, and cement in most cases. However, manufacturers have created epoxy grout which is also used in various masonry applications. DIYers and handymen use grout in kitchens, bathrooms, and laundry rooms to seal the spaces between tiles. Additionally, residential buildings have adapted tile floors throughout indoor spaces, prompting routine maintenance to fix cracks, and restore color. If your surfaces show signs of deterioration for whatever reason, early intervention is crucial to mitigate costly replacements down the line.
How Do You Repair Damaged Grout?
Redoing damaged grout is straightforward with the right steps. While the general rule of thumb is that grout repair should be done after 6 to 8 years, it can vary depending on various factors. If you are unsure if grout repair is the best course of action, consult a reputable handyman to help. Let’s delve into the helpful tips to help you fix damaged grout.
Prep Your Workspace
Before starting repairs, it is advisable to remove obstructions, such as furniture and other objects from your surfaces. Once your worksite is accessible, open the windows to improve ventilation and wear protective gear like goggles and gloves. Gather all the proper tools for a seamless repair process and lasting results.
Remove the Existing Grout
DIYers often place new grout over the old one, which compromises the integrity of your surfaces and causes damage. Remove the old grout before applying a new layer to ensure long-lasting and smooth results. Once you complete the repairs, clean the surface using a grout sponge to remove residue and other debris.
Mix New Grout
Mixing grout requires the right proportions of materials to get a final product that resembles fresh cement. If the mixture contains excess water, add more grout powder; if it is too dry or powdery add water. Let it sit for several minutes before applying it to the affected areas.
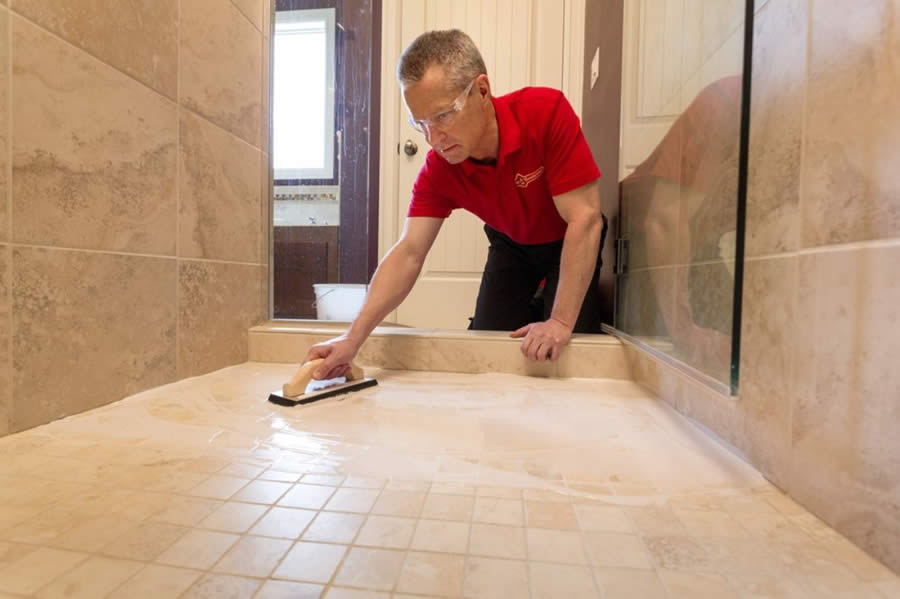
Apply New Grout and Caulk
Once your grout mixture is ready, use a grout float to capture and spread a decent amount of grout. Spread the mixture evenly across the grout lines, ensuring it is fully packed for enhanced structural integrity. Once your grout is set, wipe excess residue with a grout sponge and wait for 2 to 3 days before adding a sealant.
Call a Professional Grout Repair Service
Now that you know the steps for fixing damaged grout, you can conduct lasting repairs without risking further damage. Contact us at Mr. Handyman and schedule a consultation with our representatives to learn more about various home improvement projects you can tackle by yourself. If you prefer a more hands-off approach, our trained handymen can address your needs effectively.

.webp)